
Master the Art of Perfect Roast Chicken: A Step-by-Step Guide
Introduction
Roast chicken is a beloved classic that stands the test of time. It's the epitome of comfort food: simple yet satisfying, with its crispy golden skin and moist, tender meat. Achieving the perfect roast chicken is considered a culinary benchmark for both seasoned chefs and home cooks alike. But as straightforward as it may seem, the journey to perfection can be tricky.
The Great Temperature Debate
The question of the ideal oven temperature for roasting chicken has long been a topic of culinary debate. Should you go low and slow, or fast and furious? While opinions vary, we're here to share our favorite method, inspired by none other than culinary legend Martha Stewart.
To Truss or Not to Truss?
Trussing a chicken, which involves tying the legs together and tucking the wings, can be a bit like bundling up a baby. It keeps everything neat and tidy, ensuring an even cook and preventing any bits from burning. Some cooks swear by this method, while others prefer a more laid-back approach.
Handling Raw Chicken: A Safety Primer
Many of us were taught to rinse chicken before cooking, but this practice can actually spread bacteria like salmonella around your kitchen. The safest route is to skip the rinse and go straight from packaging to pan. Cooking will take care of any bacteria on the surface of the chicken.
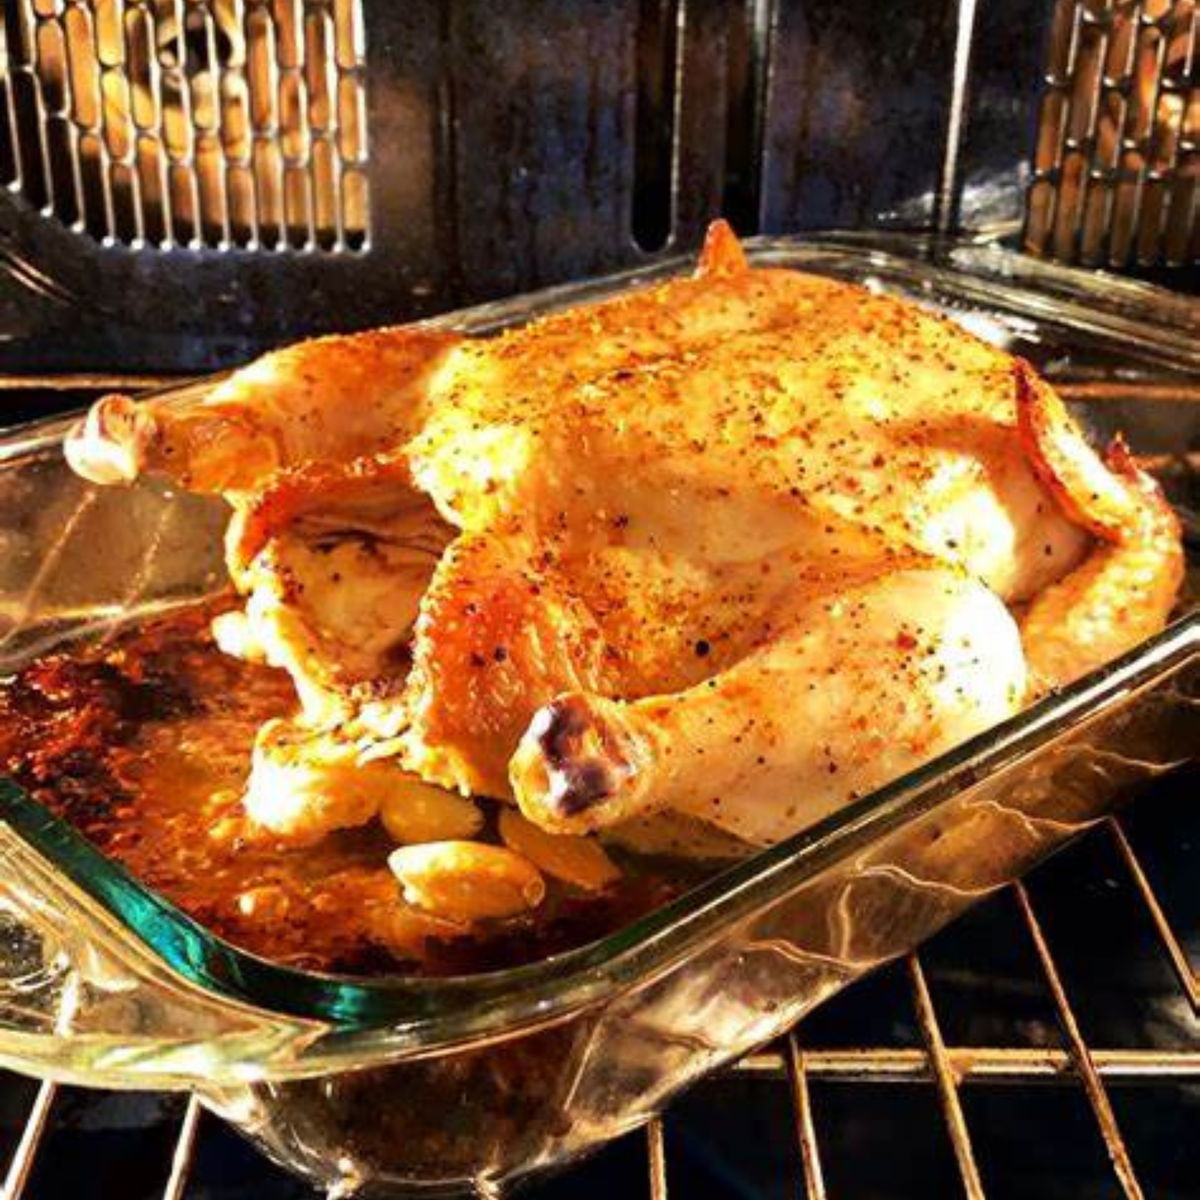
Secrets to a Juicy Roast Chicken
Determining doneness can be a challenge without the right tools. A foolproof method is to use an instant-read thermometer. You're aiming for the chicken to reach an internal temperature of 160 degrees Fahrenheit before resting it out of the oven, which allows it to continue cooking up to a safe 165 degrees.
Letting It Rest
Patience is a virtue, especially when it comes to roast chicken. Allowing the chicken to rest for 10 to 15 minutes before carving lets the juices redistribute, ensuring your chicken is moist and delicious down to the last bite.
Ingredients for Success
- 1 6-pound roasting chicken
- 2 tablespoons unsalted butter
- Salt and freshly ground black pepper
- 2 medium onions, sliced
- 2 lemons
- 3 large garlic cloves
- 4 sprigs fresh thyme
- 1 cup chicken stock or low-sodium broth
Cooking Steps: A Symphony of Flavors
Preheat and Prep
Allow the chicken and butter to come to room temperature. Preheat your oven to 425°F. Prepare the chicken by removing any giblets and patting it dry.
Build the Flavor Base
Layer sliced onions in your non-stick roasting pan. They'll act as a natural rack and flavor enhancer as they cook beneath the chicken.
Prep the Lemon
Roll and pierce the lemon to unleash its citrusy zest, which will infuse the chicken with bright flavors.
Stuff and Truss
Stuff the chicken with lemon, garlic, and thyme. Truss the legs to keep everything compact.
Roast to Perfection
Rub the chicken with butter and season generously. Roast until the skin is irresistibly crispy and an instant read thermometer reads the correct temperatures.
Rest and Carve
Let the chicken rest before carving. This is crucial for locking in those tasty juices.
Making the Gravy: The Cherry on Top
Use the pan drippings to create a rich, flavorful gravy that complements the chicken beautifully.
Roast chicken is more than just a meal; it's a heartwarming experience that brings people together. With these tips and techniques, you're well on your way to mastering this culinary classic. Happy roasting!
FAQs: Tips and Tricks
- Roasting vs. Baking: Roasting typically involves higher temperatures to achieve a crispy exterior.
- Covering the Chicken: Keep it uncovered to ensure the skin crisps up nicely.
- Preventing Dryness: Monitor your cooking times and temperatures closely.
- Adding Water to the Pan: Usually not necessary, but a little can be added if the pan seems dry.